Table of Contents
- Know Your Rights and the Timeline
- Key Legal Points
- Gather Evidence Before You Call
- What to Collect
- Contact the Merchant First
- Tips for a Productive Call
- Escalate to Your Credit‑Card Issuer
- Submitting the Dispute Online
- What the Issuer Will Do
- Follow‑Up and Monitor the Outcome
- Maintaining a Clean Credit Record
- Prevent Future Disputes
When a surprising amount appears on your credit‑card statement, the instinctive reaction is often frustration. The keyword “dispute” becomes a lifeline, and knowing how to navigate the process can prevent unnecessary fees and protect your credit score. This guide walks you through each stage of a charge dispute, illustrating the journey with clear actions and realistic scenarios.
Imagine opening your monthly statement and spotting a $250 charge from a retailer you never visited. You call the merchant, receive a vague apology, but the amount remains. At this point, the dispute process transforms from a simple phone call into a structured, documented effort. Understanding your rights, collecting the right paperwork, and following the proper channels are the three pillars of a successful resolution.
In the sections that follow, you will discover a roadmap that turns a confusing billing error into a manageable task. Whether the charge is fraudulent, a duplicate, or simply a mistake, the steps outlined here apply universally across most major credit‑card issuers.
Know Your Rights and the Timeline
Credit‑card regulations, such as the U.S. Fair Credit Billing Act (FCBA), grant you the right to contest questionable charges within 60 days of the statement date. This legal framework obliges the issuer to investigate and respond promptly, usually within two billing cycles but not more than 90 days.
Key Legal Points
- Dispute must be filed within 60 days of the statement that contains the error.
- The issuer must acknowledge receipt of your dispute within 30 days.
- During the investigation, you are not required to pay the disputed amount.
- If the issuer finds the charge invalid, it must correct the balance and remove any related fees.
Understanding these timelines prevents you from missing the window of opportunity and gives you leverage when communicating with the merchant or issuer.
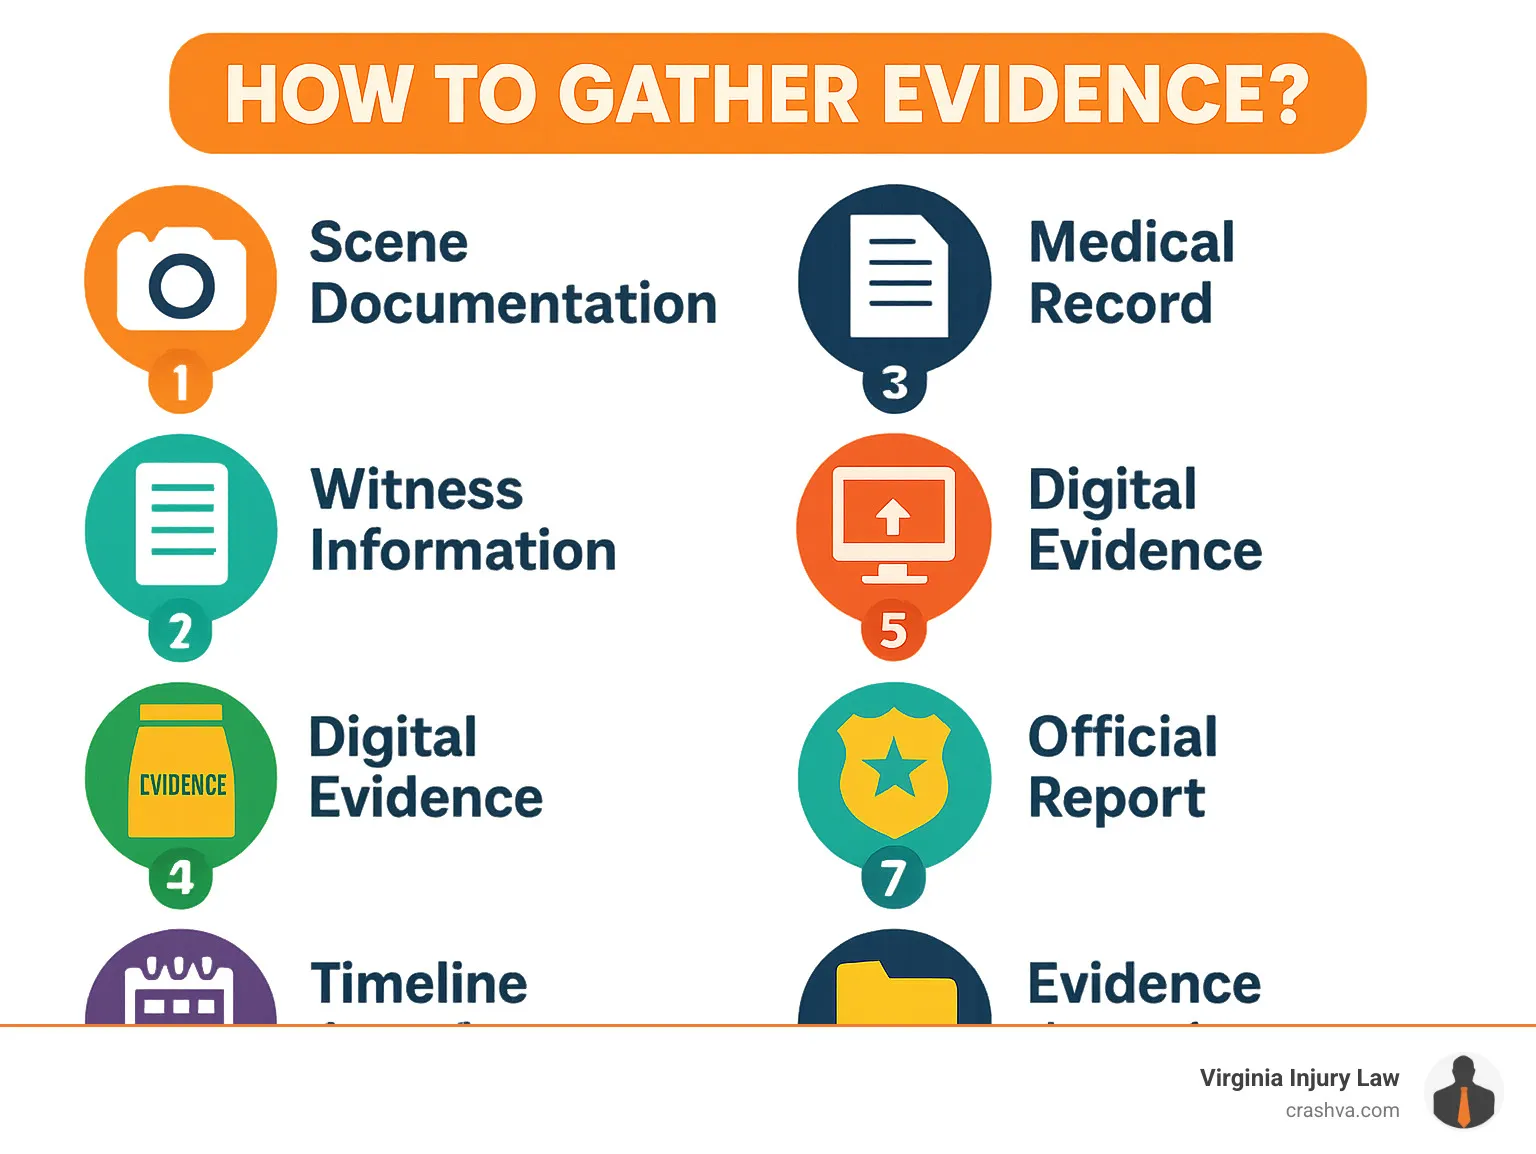
Gather Evidence Before You Call
Before initiating a dispute, collect every piece of documentation that supports your claim. The strength of your case hinges on clear, organized evidence that demonstrates the charge is incorrect.
What to Collect
- Statement copy: Highlight the disputed transaction.
- Receipts or order confirmations: Show that you never authorized the purchase.
- Correspondence with the merchant: Email or chat logs where you attempted resolution.
- Police report or fraud alert: Required for stolen‑card or identity‑theft cases.
Label each document with the date and a brief description. A well‑organized file not only speeds up the issuer’s investigation but also reduces the chance of follow‑up requests that could delay resolution.
Contact the Merchant First

Most issuers advise cardholders to attempt resolution directly with the merchant before filing a formal dispute. This step can often settle the issue quickly, saving both parties time and effort.
When you call, be concise: state the transaction date, amount, and why you believe it is incorrect. Ask for a refund or a correction, and request a written confirmation of the outcome.
Tips for a Productive Call
- Speak to a supervisor if the first representative cannot help.
- Take notes of the representative’s name, the time of the call, and any reference numbers provided.
- Request a confirmation email summarizing the agreement.
If the merchant acknowledges the error and issues a credit, verify that the adjustment appears on your next statement. If the merchant refuses or fails to respond, you can move on to the next step.
Escalate to Your Credit‑Card Issuer

When the merchant route does not resolve the issue, the formal dispute process with your issuer begins. Most banks offer multiple channels: online portal, mobile app, phone, or mailed letter.
Submitting the Dispute Online
Log into your account and locate the “Dispute a Transaction” feature. Upload the evidence you gathered, fill in the required fields, and submit. The system typically sends an acknowledgment within a few days.
If you prefer a written record, you can send a certified letter to the issuer’s dispute department. Include your account number, a clear statement of the disputed charge, and copies (not originals) of all supporting documents.
What the Issuer Will Do
- Initial review: Verify that the dispute was filed within the legal timeframe.
- Investigation: Contact the merchant for verification and request documentation.
- Interim credit: Place a temporary credit on your account while the investigation proceeds.
- Final decision: Issue a written response stating whether the charge will be removed.
During this period, continue to monitor your account for any additional activity related to the disputed charge.
Follow‑Up and Monitor the Outcome

After the issuer’s investigation, you will receive a resolution notice. If the decision is in your favor, confirm that the credit appears on your statement and that any associated fees have been waived.
In the rare case the issuer upholds the charge, you have the right to appeal. Request a detailed explanation of why the charge was considered valid, and consider escalating the matter to the Consumer Financial Protection Bureau (CFPB) or a local consumer protection agency.
Maintaining a Clean Credit Record
- Check your credit report after the dispute resolves to ensure the balance reflects the corrected amount.
- Keep all dispute-related correspondence for at least one year, in case future questions arise.
- Set up alerts on your account to detect unauthorized transactions promptly.
Prevent Future Disputes
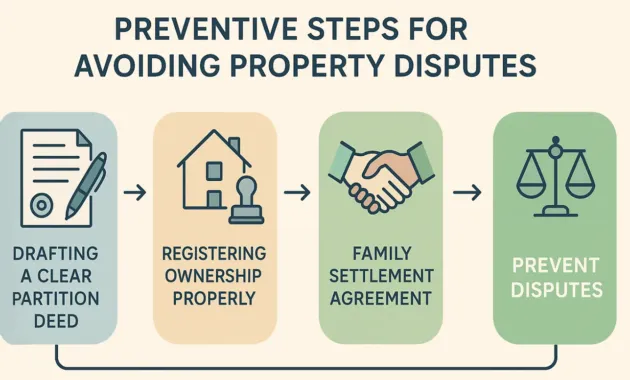
While disputes are sometimes unavoidable, proactive habits can reduce their frequency. Regularly reviewing statements, using virtual card numbers for online purchases, and enabling transaction alerts are effective safeguards.
Understanding the hidden power of your credit card grace period also helps you avoid interest charges that may be mistaken for errors. Additionally, learning to stop recurring credit card payments forever can prevent unwanted charges from subscription services.
Finally, stay informed about the features of each card you own. For instance, if you have a Citi credit card, unlock the full power of your Citi credit card by familiarizing yourself with its online tools, which often include dispute tracking dashboards.
By following the structured approach outlined above—recognizing your rights, gathering evidence, attempting merchant resolution, escalating to your issuer, and monitoring the outcome—you can turn a confusing charge into a manageable process. The discipline of keeping records, acting promptly, and leveraging the tools provided by your card issuer not only resolves the immediate issue but also builds a stronger financial foundation for future transactions.